I had an idea as I was driving home from work yesterday to build a big butchers block for camp cooking. The vision is to have fold out legs on the bottom carved into the bottom so it lies flat. It’ll be a fold-out table butchers block cutting board. I figure that would be pretty useful around the campfire or camp site. I’ve definitely been longing to get outside and do some camping, so that’ll be the focus this year. I’d like to film as much of it as I can and do some adventure camping this summer if possible.
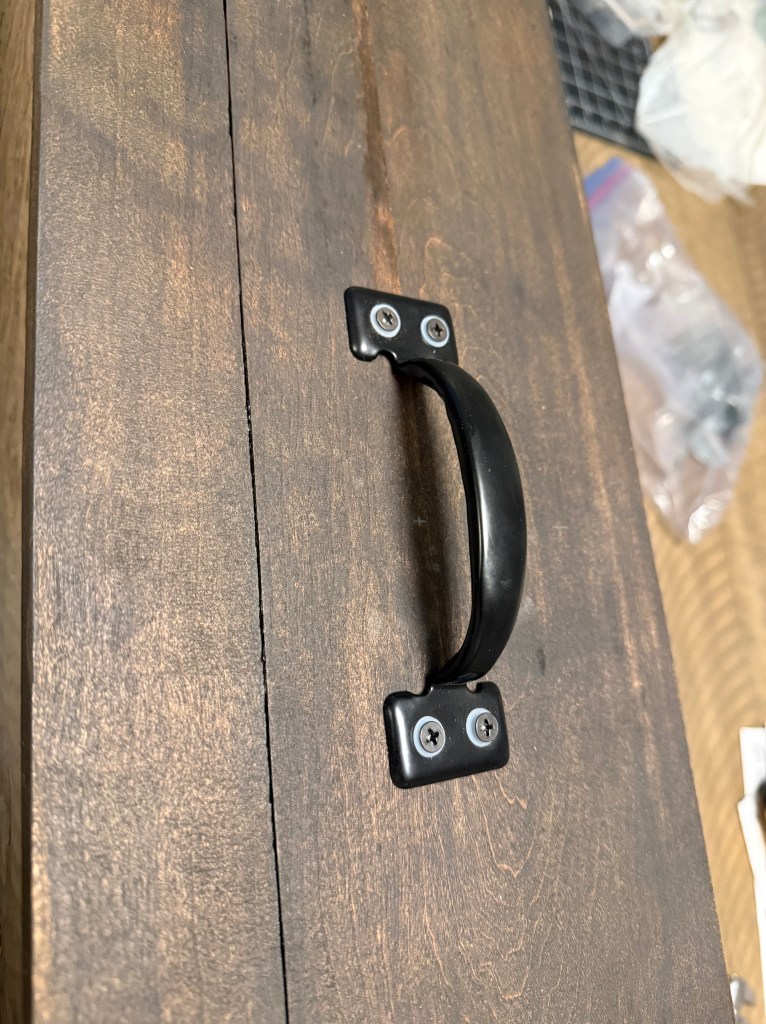
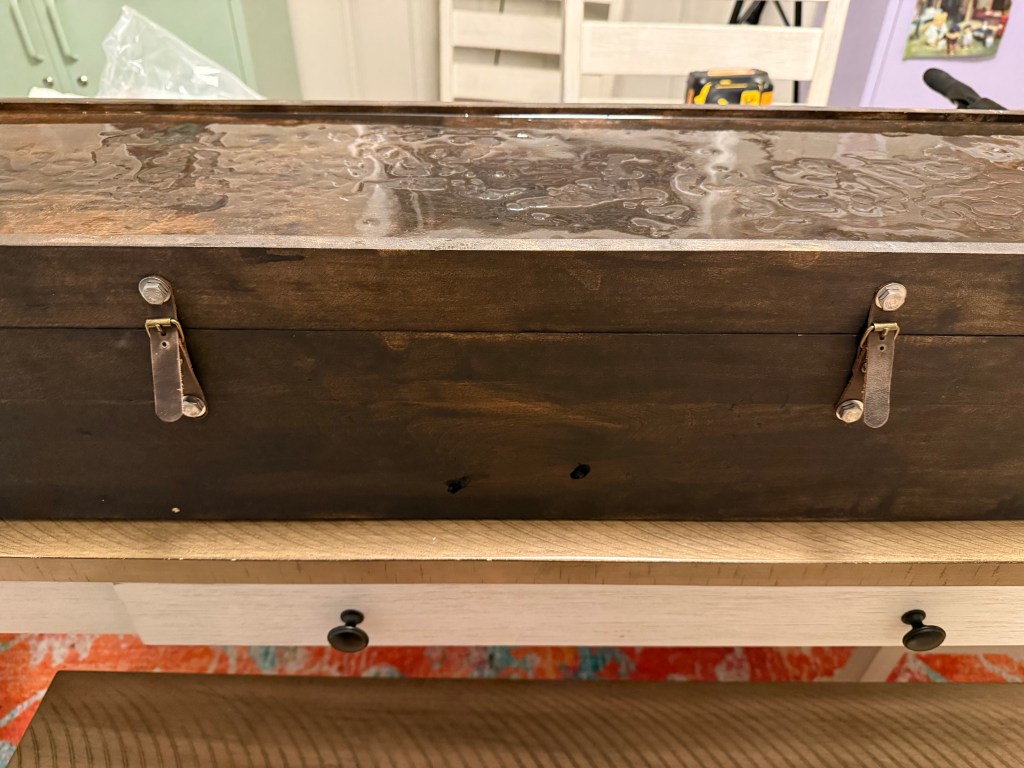
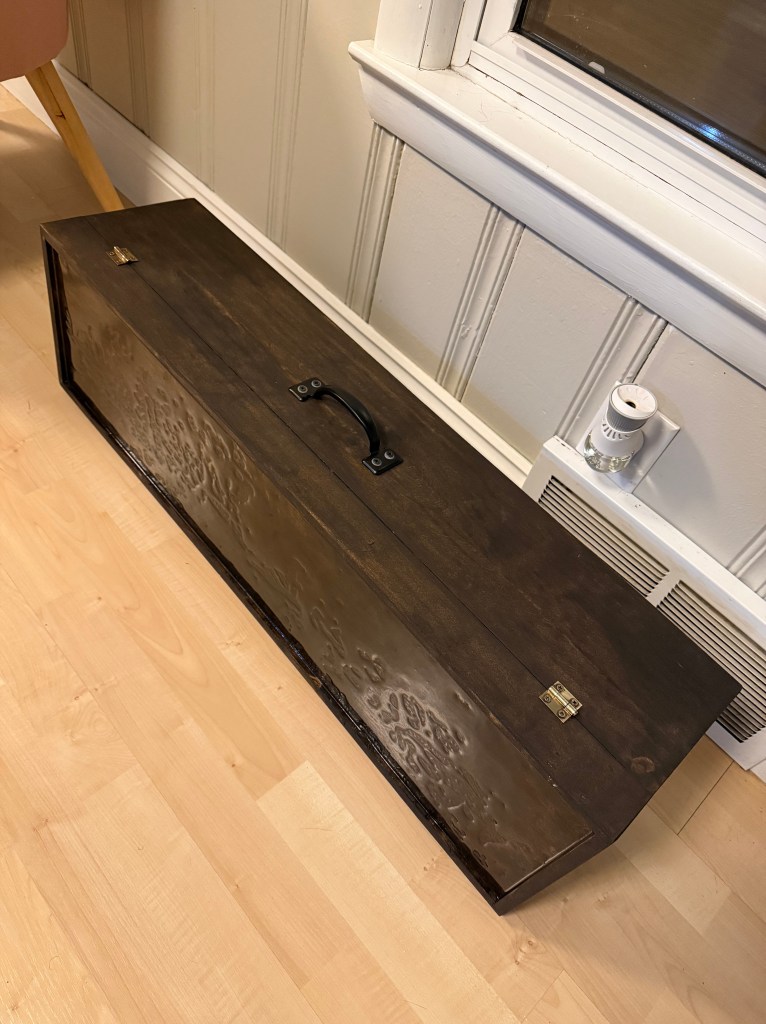
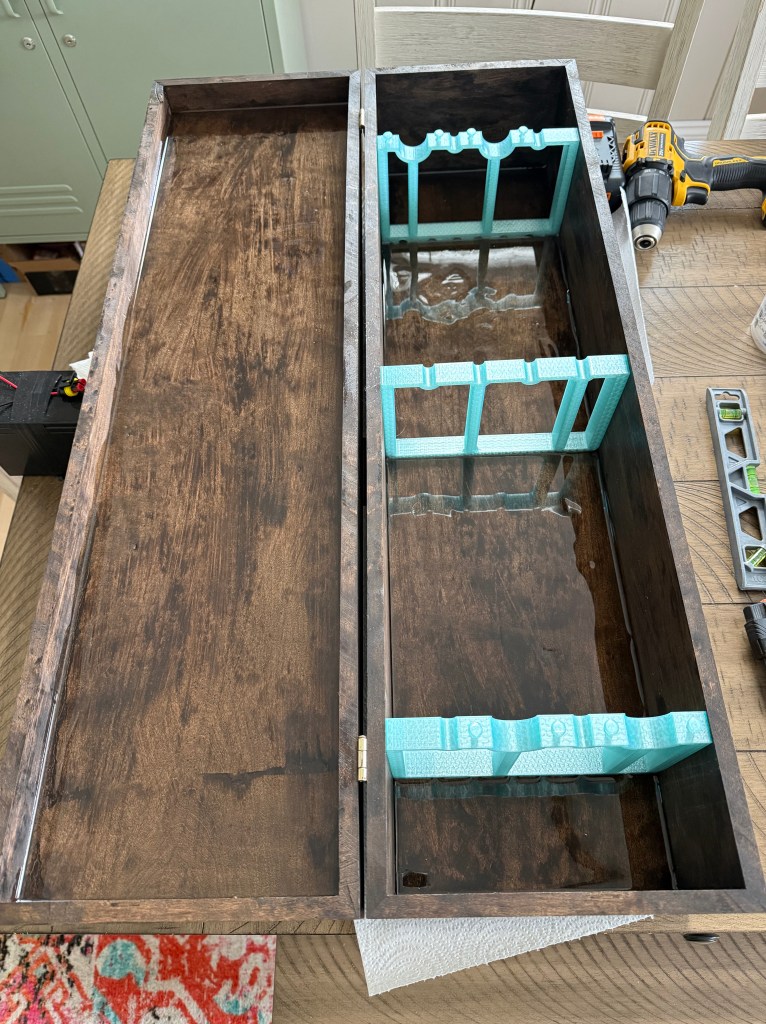
So I’m thinking I’ll try to make this folding butcher block table cutting board fairly big. Probably at least an inch to an inch and a half thick, at least 1 foot by 2 foot in size. The trick will be making it big enough to be very useful but not so big that it’s annoying to move around. I figure I could start doing some day trips with it, film some outdoor cooking videos. I’m thinking that I’ll 3D print the legs for the table, or make them out of wood. I’m struggling right now to understand how I’ll attach the legs to the bottom. I’m thinking I’ll CNC the recess for the legs into the bottom, and perhaps use some sort of mechanism that allows the legs to fold out and lock into place, but also allows the legs to be attached nicely to the bottom.
I’ve got a fire pit in the back yard so it will be fun for me and my preschooler to do some fire making and cooking. This little butchers block table cutting board will be a cool thing to have for that as well. If you can’t tell I’ve been craving hanging out around the fire, doing some camp cooking and enjoying some warm weather.
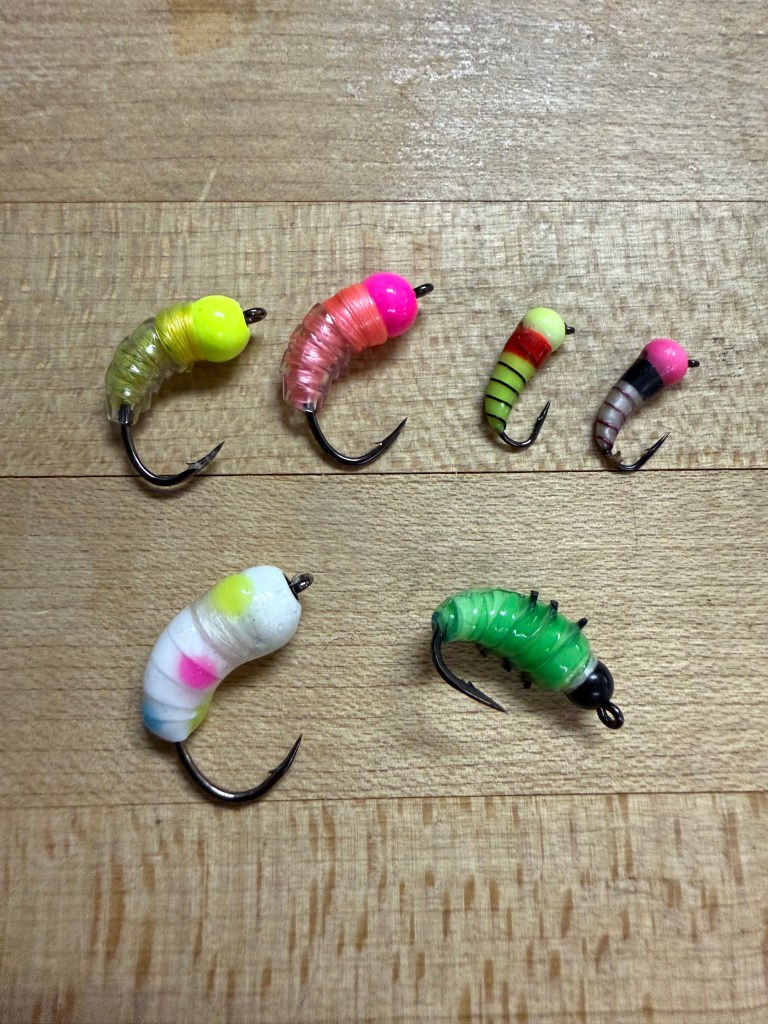
This weekend I’m planning on doing a bunch more ice fishing because there will only be a couple more weekends to make use of all of the equipment that I purchased. It’s my mom’s birthday on Monday, so we’re going to early dinner on Saturday. I’ll probably hit Lake St. Clair Friday morning for a couple hours targeting perch, then we’ve got a meeting with our preschoolers school in the early afternoon to get her enrolled. Saturday morning we’ll hit Union for an early morning walleye bite and then early dinner with the family.