I’ve started to use the glue/adhesive that came with my 3D printer. It’s a strange glue because it looks like a liquid deodorant stick. It’s got a fabric applicator and is a clear liquid. You rub the tube on the bed of the 3D printer and it helps keep the first layer stuck to the bed, which happens to be wildly important in 3D printing. Before using this glue, around 2 of every 3 prints would fail. Sometimes they’d fail very far into the print, which was awful because you’re not only wasting filament, but a bunch of time as well.
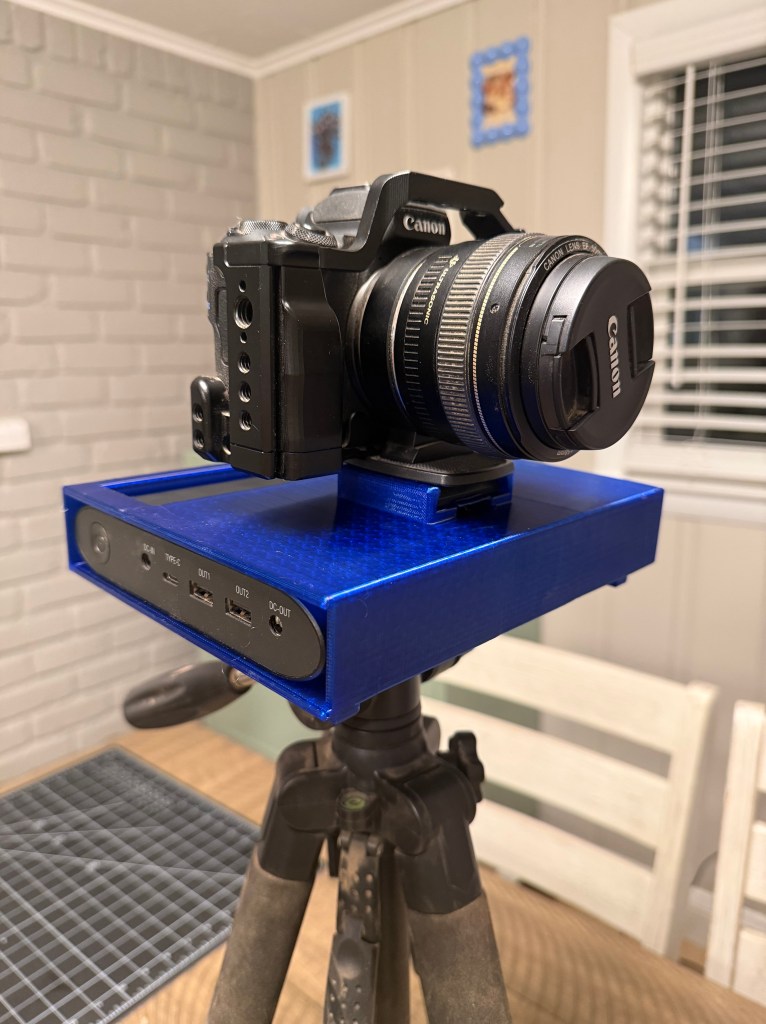
I had a successful 7 hour print yesterday and finally got the battery housing printed for the new camera rig. Now I’ve got to figure out how to attach the monitor to the camera body. I’ve attached a picture of what the setup looks like currently, and it’s already such a huge improvement over what it was. That huge battery used to sit in a plastic gallon freezer bag that hung from the hook under the tripod. Now that you have a visual reference for what I’ve been trying to accomplish, I should probably explain the setup a little more.
The huge battery connects to a battery insert in the camera. This allows the camera to be powered for (rough estimate) over 16 hours. One of the things that drove me nuts about filming was always taking the time to futz with batteries, and making sure that they were charged. This big battery eliminates the need for that so I can focus on woodworking, as well as filming in a a little more streamlined fashion.
The next step in this process is to figure out how to attach the monitor. I’ve CADed some swing arms that I’m hoping will attach to the frame of the camera with quarter 20 screws. I’ve also designed a housing for the monitor that is similar to the battery housing. These steps should take considerably less time than the battery housing took to print, which is awesome. I’m really looking forward to working with this new setup, and this camera has given me the best image quality by far.

Leave a comment