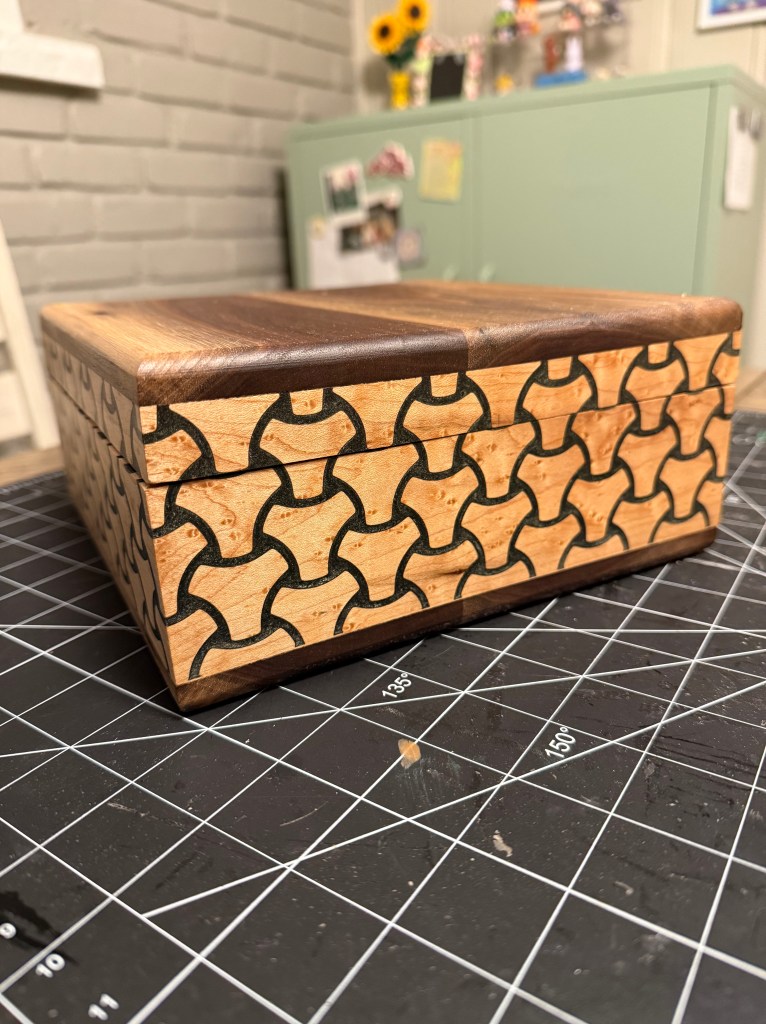
The tessellated box is officially done. I completed the last step yesterday and I’ll start work on the YouTube video later today. I’ve attached some pictures. I’ve got a few ideas for the next one. I’d like to see if I can do a wood inlay for the tessellation. Instead of filling the female engraving with epoxy, you fill it with a male insert and then remove the material down to the surface. I think this will make for a more interesting looking box.
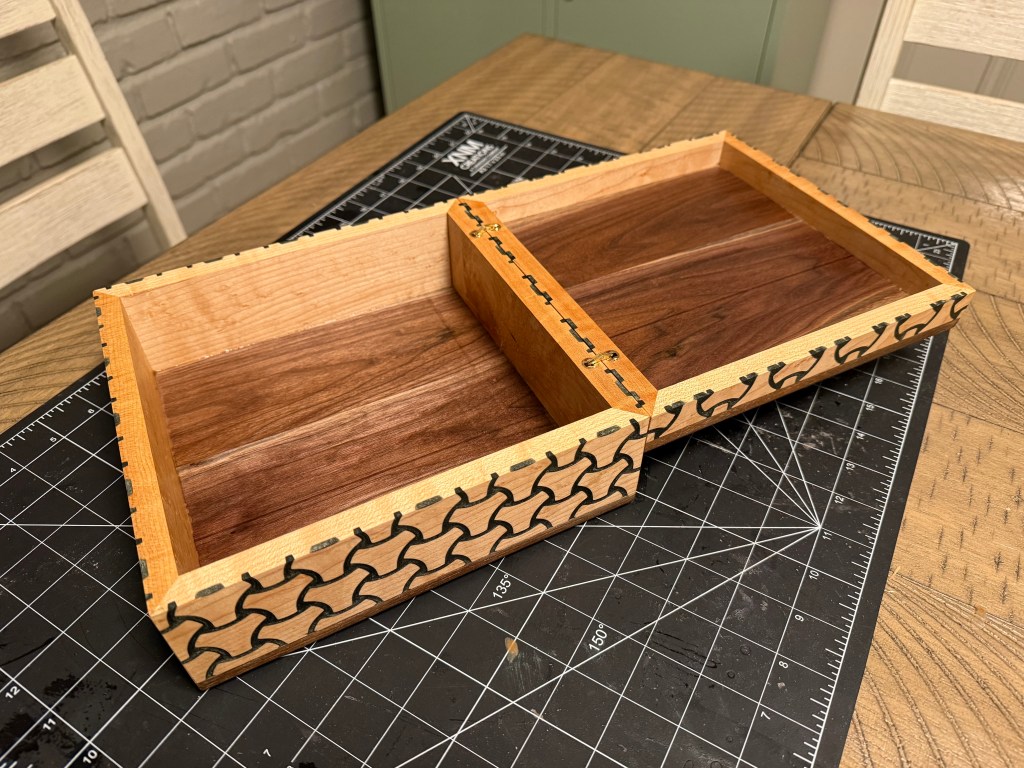
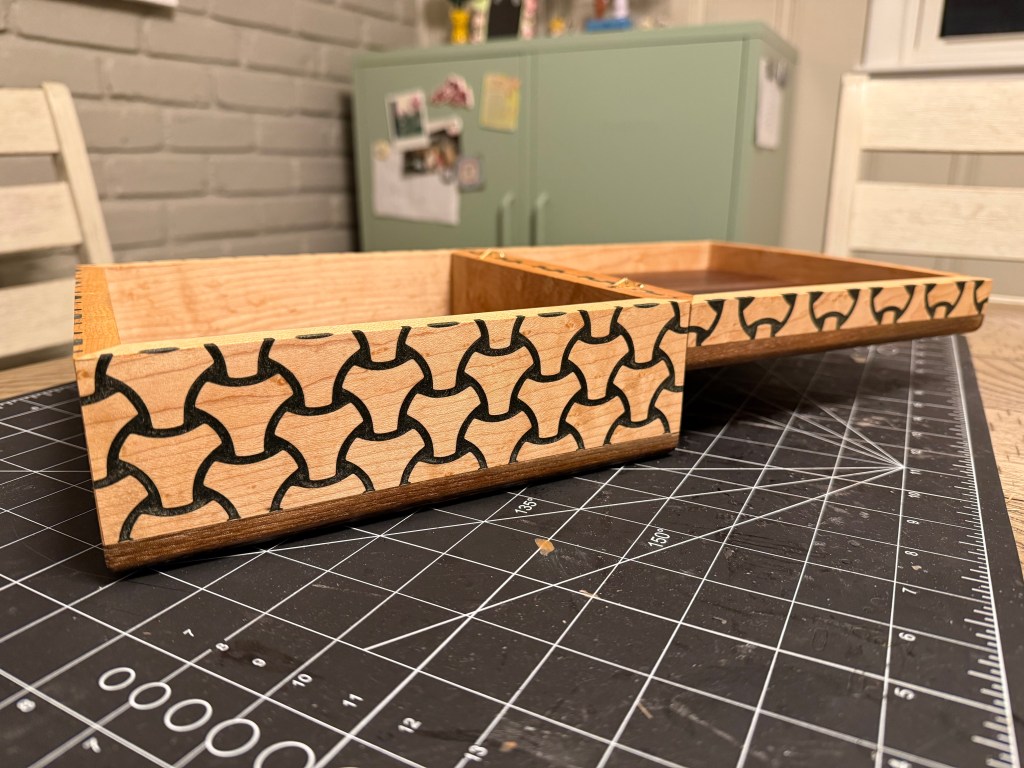
Another idea I had was to leave a small border on the top and bottom. You can see how deep the epoxy goes into the wood on the rim of the box lid and base. Leaving a border would eliminate this problem. I’d like to see what the box will look like when the top and bottom of the box are of the same species as the sides. This should make it look really uniform. I liked the contrasting wood colors that I did in the last box but I think it might be better if the box is more monotone. With the tessellation, it does look a little busy when the top and bottom are a different color.
I also need to figure out and make a rabbeting jig for cutting rabbets into the top and bottom of a box. The joinery of the last box looked a little clunky in the sense that I did it fairly quickly and you can tell. I need to rig one of my routers to cut 1/4 inch by 1/4 inch rabbets on the edges of wood and leave it set up and ready to go. I think rabbeted joinery is a must for these boxes and will add to the rigidity and overall quality.
I’d also like to make the next box a humidor, which adds a little challenge to the building of the box, as I now need to line the inside with a thin layer of Honduran mahogany. It also needs to be air tight and have a piston fit. It will probably need to be a little bigger, and possibly have a section for the humidifying agent, whether that be distilled water sponges or humidifying bags. I also need to find great affordable hinges and create a routing jig for installing them onto the lid and base of the box. Lots of work to be done yet.

Leave a comment