Yesterday, while my toddler was at daycare I was able to get some woodworking done. I dimensioned the cherry lumber for the ice rod case, completed the joinery and glued it up. It was fairly straightforward, and I’m definitely getting faster with these boxes. I opted for mitered corners, which made getting the dimensions of the lumber a little easier. I’m debating whether I’d like to do splines, but I have a feeling it’ll be sturdy enough without them. I’m planning to cover the whole thing in a layer of epoxy that will weather and waterproof the case while adding reinforcement to the joinery.
My mitering jig is a little wonky. For some reason it wont cut straight, so I’ve got to figure out whether it’s the poor trueing of my dimensioned lumber, or the table saw jig itself. As I push the lumber through the jig, you can see that it isn’t cutting the miter evenly. It’s a couple of degrees off as the saw works its way through and when I hold a square to it, you can see the angle that the saw leaves. It was good enough for this project, but unacceptable for higher end boxes I’d hope to sell.
I’m getting better with the router table. I used a quarter inch spiral bit to cut the dados and rabbets for the internal joinery on the top and bottom. I have confidence that this box will be very sturdy thanks to this joinery. Having the fence to run these pieces again made it very fast and easy once the quarter inch router bit was installed. The wall thickness of the box is half inch, so I raised the quarter inch bit a quarter inch and zipped all of the edges for the top and bottom to make rabbets. Then I zipped the top and bottom of the sides slightly further down on the edge to create the dados. For the rabbets, I raised the bit up about a sixteenth of an inch and this really helped with the final fit up, as the rabbeted tongue was ever so slightly smaller in thickness than the dado.
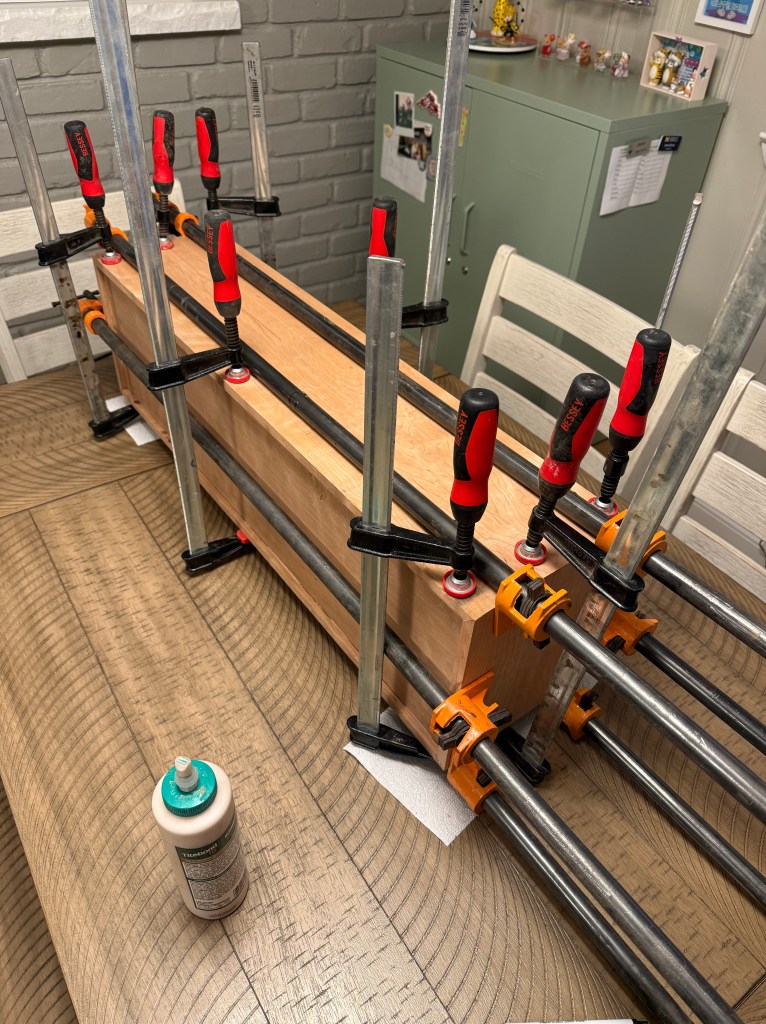
I was able to glue everything inside, which I’m sure is driving my wife insane having these projects in the house. It’s starting to warm up but we’re still pretty far away from glue-able temperatures out in the barn. Here’s a picture of the glue up.
Next steps are to sand a little, cut the lid off, apply stain, then apply epoxy, then install the hardware, and finally 3D print the pieces that will hold the rods in place inside of the case. I’m hoping to have all of this done by the end of the weekend, but we will see. It is my 2 year wedding anniversary this weekend so I’ve taken Sunday off work which will be absolutely fantastic.

Leave a comment